Questions? Call Us: (408) 842-6667
2339 Technology Parkway Unit F, Hollister CA 95023


If you want to restore smooth acceleration and peak throttle response, knowing how to clean and rebuild your Weber unit is essential. Whether you are servicing a classic set or carrying out a complete Weber carburetor conversion, sourcing genuine Weber carburetor parts from Pierce Manifolds gives your carburetor engine a fresh lease on life. Shop today.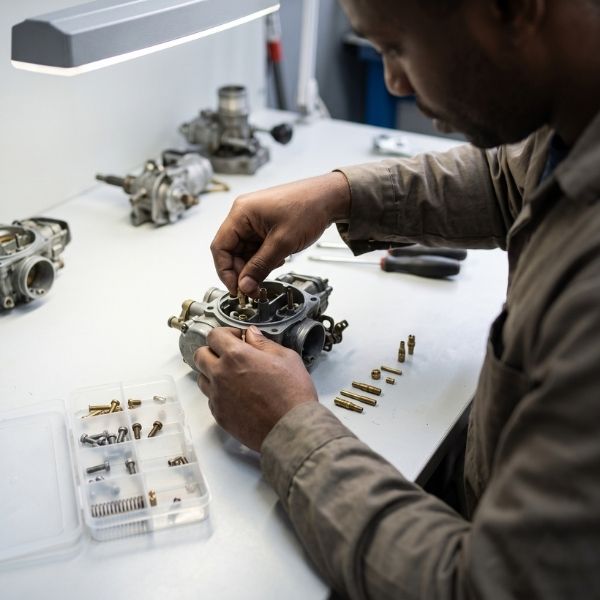
Begin your carburetor rebuild by removing the unit from the engine intake and organizing your workspace. Work on one assembly at a time so you never lose track of small hardware. Disassemble the top cover, main body, and float chamber, carefully removing all internal carb components such as jets, emulsion tubes, float pins, and power valves. Inspect brass parts for corrosion and check the throttle shafts for excessive play.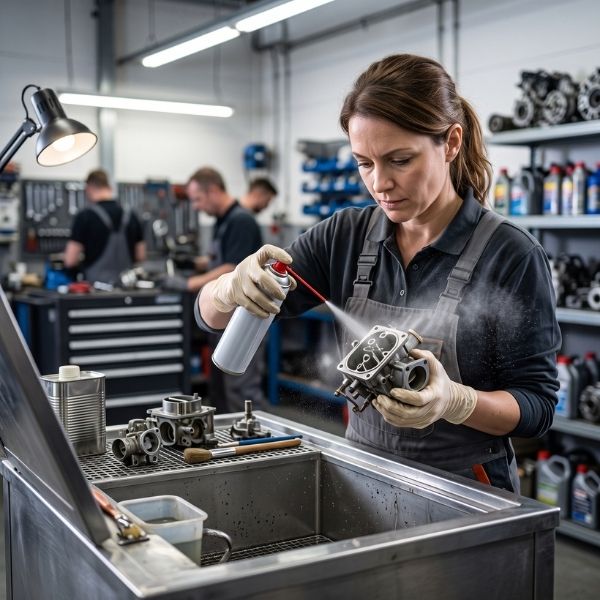
Soak the bare metallic castings in a dedicated carburetor cleaning solution to strip away built-up varnish and fuel deposits. Blast every internal air passage and fuel gallery using aerosol carb cleaner and compressed air. Avoid inserting hard wire into delicate brass jet orifices, as scratch marks alter precise fuel metering. Ensure every channel is completely clear before moving forward.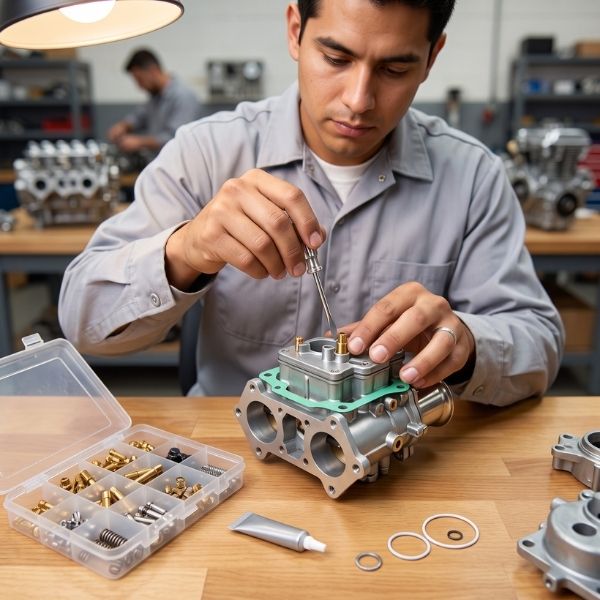
Reassemble the unit using high-quality gaskets, needle valves, and O-rings. Set the float height precisely according to factory specifications, as incorrect float levels cause flooding or lean running. Install the unit back onto your manifold with new base gaskets. Once mounted, set your initial idle mixture and speed screws to baseline settings before firing up the engine for final synchronization.
GET STARTED TODAY
Taking the time to execute a methodical rebuild ensures your engine starts effortlessly and delivers optimal power. With quality components from Pierce Manifolds and proper calibration, your Weber setup will run reliably for miles to come. Shop today.